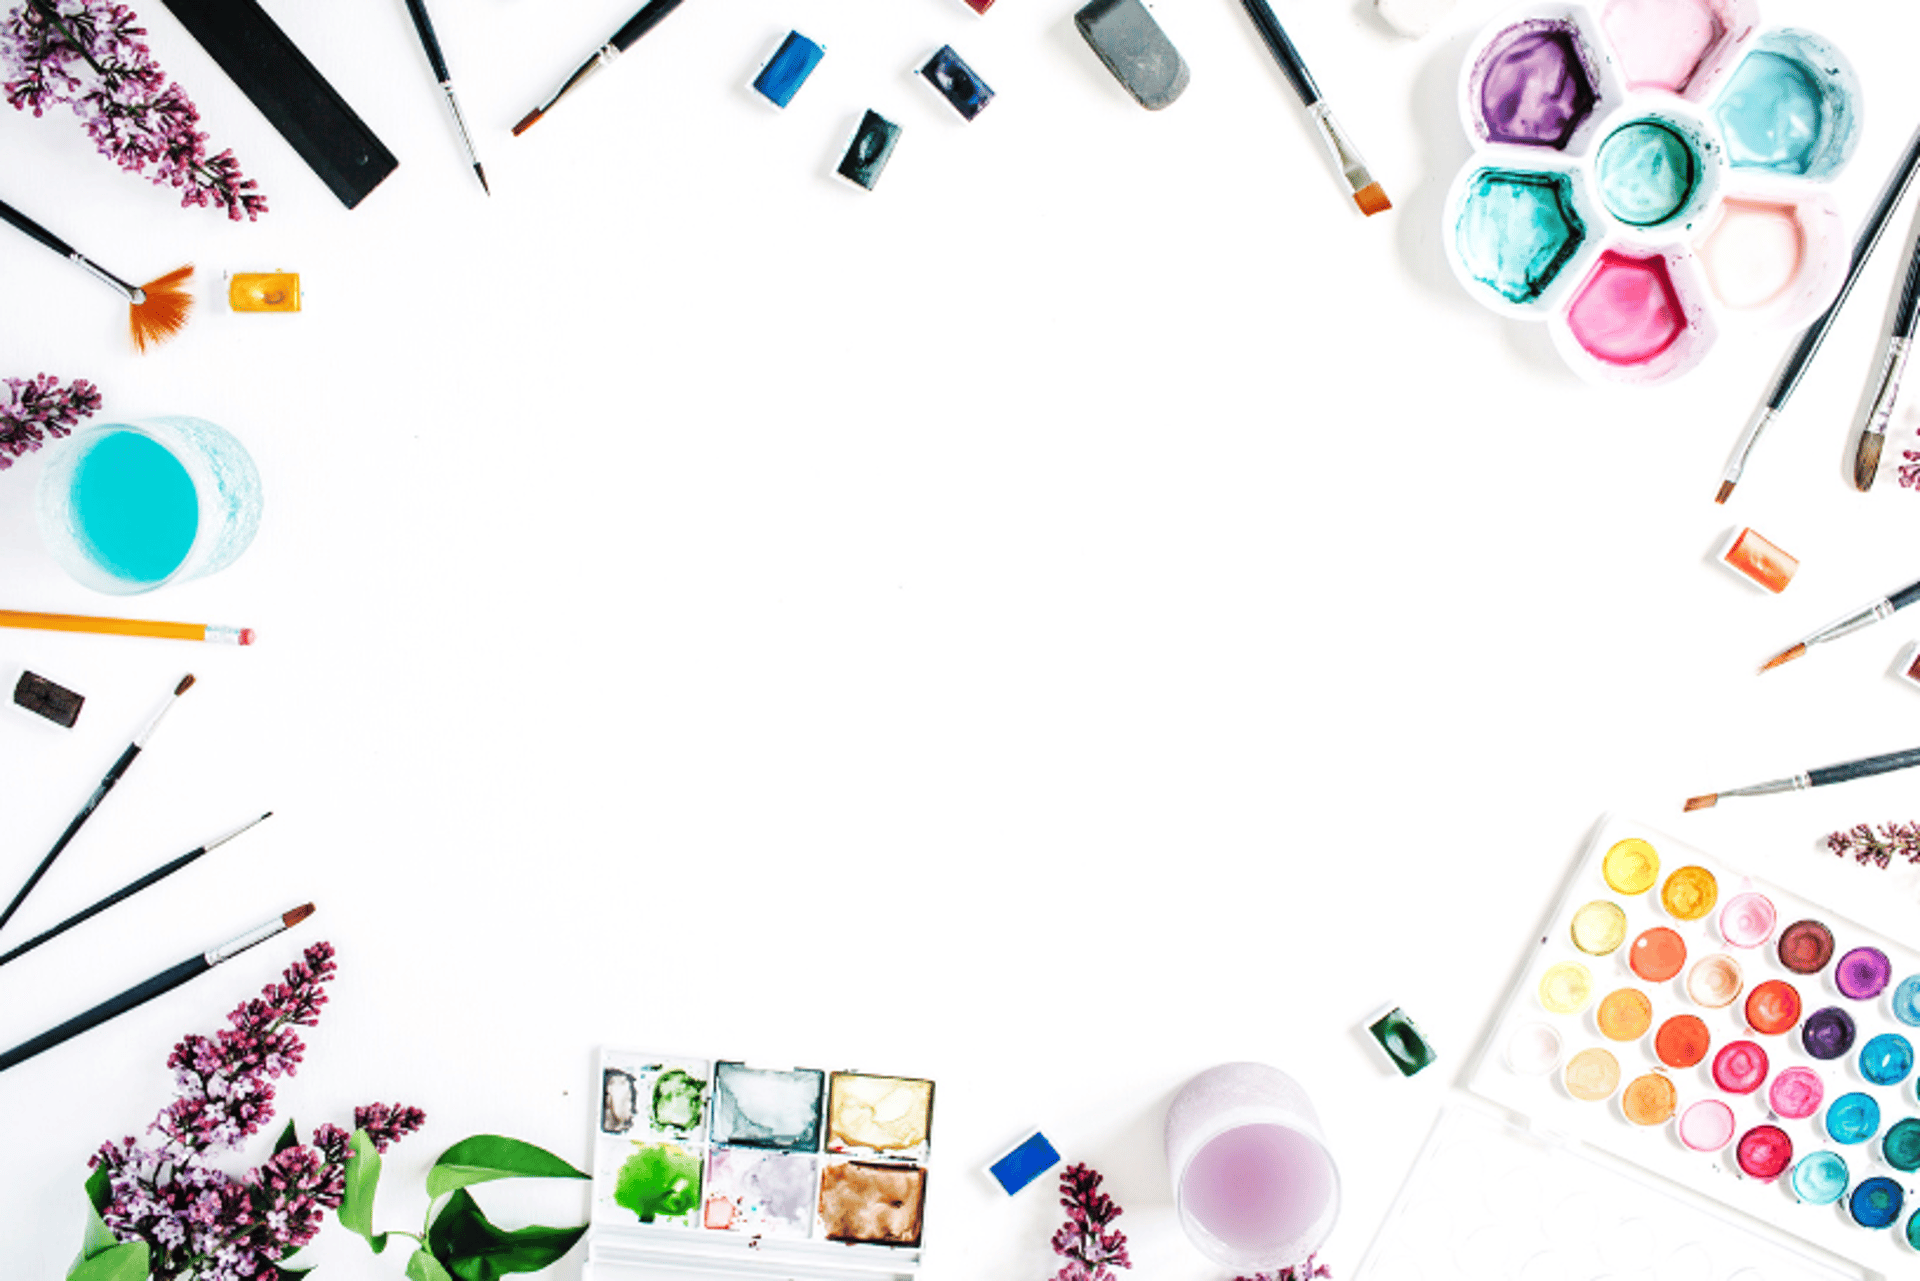
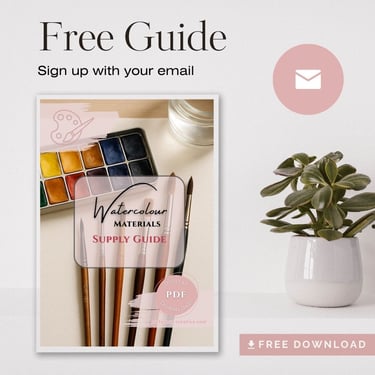
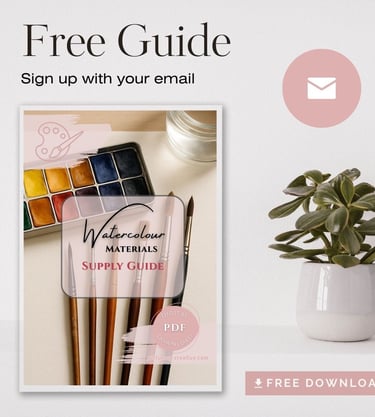
Watercolour Painting Materials - Supply Guide
What you really need to get started...
BLOG1BLOG 3
So, you want to dive into the world of watercolour painting?
✨ Wonderful choice! Watercolour is one of the most magical (and sometimes unpredictable) mediums out there. But here’s the thing: walking into an art store or scrolling through endless online supplies can feel overwhelming. Do you really need 50 brushes? What’s the difference between student-grade and artist-grade paints? And why does paper matter so much?
✨ The good news is — you don’t need a mountain of materials to get started. In fact, having just a few quality basics will set you up for success (and save you money and frustration along the way).
In this guide, I’ll walk you through the essential supplies you actually need — paints, brushes, paper, and a couple of extras — plus a few tips on where you can save and where it’s worth investing. Whether you’re a total beginner or picking watercolours back up after a break, this will help you build a toolkit that works without all the fuss.
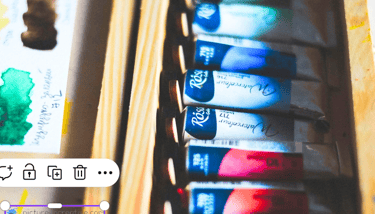
🎨 Paints – Your Colours
Paints are, of course, the heart of watercolour painting — but you don’t need a giant rainbow of tubes or pans. The key is understanding quality and starting with a limited palette.
Types of Watercolor Paint
1. Pans – Dry cakes, great for travel and beginners. Easy to use, less messy.
2. Tubes – Creamy paint, vibrant and rich. Ideal for larger works and mixing.
3. Liquid – Intense color, good for bold effects. Can stain, less lightfast.
4. Pencils/Markers – Good for detail and control. Activate with water, less vibrant.
Tube vs. Pan paints:
Tubes are soft and easy to re-wet, great for large washes with a big flat brush.
Pans are portable, tidy, and last longer. Beginners can start with either — it comes down to preference.
Types of Quality
1. Student Grade: Cheaper, less pigment, more fillers. Good for learning.
2. Artist/Professional Grade: High pigment, better blending, long-lasting results.
Worth the investment for serious painting.
Student grade vs. Artist grade:
Student grade paints are cheaper, but often weaker in colour and filled with fillers.
Artist grade paints are more vibrant, last longer, and mix cleaner.
If your budget allows, choose artist grade for a few core colours — they make a huge difference.
👉 Tip for Beginners:
Start with a student-grade pan or tube set, and upgrade to artist-grade as you go!
Student grade 24 colour pan or a entry artist grade 18 colour pan.
Less is more: Fewer colours = cleaner mixes and less overwhelm.
Swatch your colours — it helps you see how they behave.
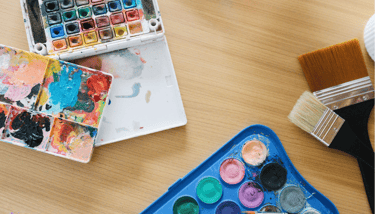
🖌 Brushes – Your Tools
When you’re new, it’s tempting to buy a giant set of brushes. Truth is, you only need a few to start.
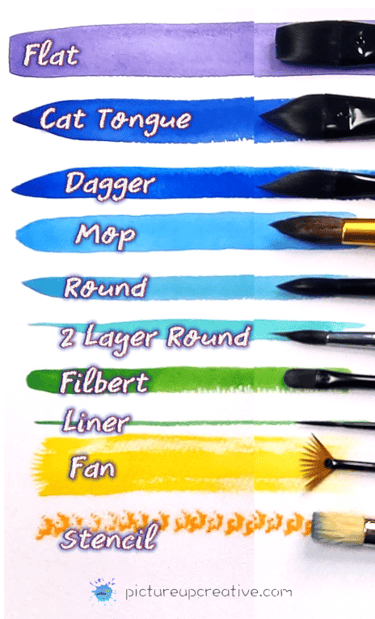
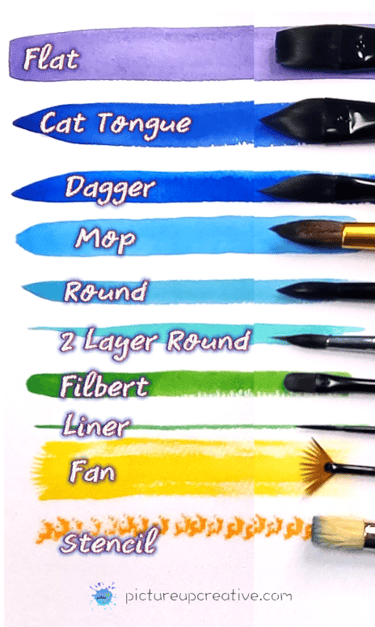
Types of Watercolor Brushes
1. Round – Versatile, great for lines and washes.
2. Flat – Ideal for bold strokes and edges.
3. Liner/Rigger – Great for drawing long fine lines.
4. Detailer – Tiny tips for fine work.
Specialty Watercolour Brushes
5. Mop – Holds lots of water, perfect for big washes.
6. Dagger – Bold strokes, sharp edges,
switching easily from thick to thin lines.
7. Cat's Tongue – Versatile strokes, broad areas, fine points.
8. Filbert – Smooth, rounded strokes (great for blending).
8. 2 Layer Round – "two-in-one" tool for fine lines and broader washes.
3. Fan – Creating texture.
4. Stencil – Creating clean, crisp patterns and textures.
5. Hake – Japanese flat brush for even washes.
3. Splatter – Long bristles to easily create splatters.
4-5 Brushes All You Need (sizes can vary):
Round size 6 or 8: The workhorse — makes thick and thin lines.
Round size 12 or16: Handles both thick and thin strokes, and works for washes.
Liner/Rigger 3 or 4: You will love this brush. Great to paint fine lines and details.
Detailer 1 or 2: For those tiny details, fine lines, and signatures.
Flat brush 1" or 2": Great for big washes, works better than a round brush.
Later once you’re more experimenting you can add specialty brushes to your brush collection.
👉 Tips for Brushes:
Invest in four to five good brushes rather than a cheap multipack.
Start off with synthetic brushes, when bristles start to spread, get a new one.
Clean gently with water and let them dry completely before storing.
Don’t mash them into the paper.
Brush Quality
Student Grade: Synthetic, affordable, good for practice.
Artist Grade: Natural hair (like sable) or high-end synthetics. Better control, water holding, and durability.
📄 Paper – The Game Changer
This is the area most beginners overlook, but it’s also the one that makes the biggest difference. You could have the best paints and brushes in the world, but if your paper is poor quality, your results will suffer.
Watercolour paper comes in a variety of types, each affecting how your paint behaves. Here's a breakdown of the main types, along with explanations to help you choose the right one for your style and project.
Types of Watercolour Paper
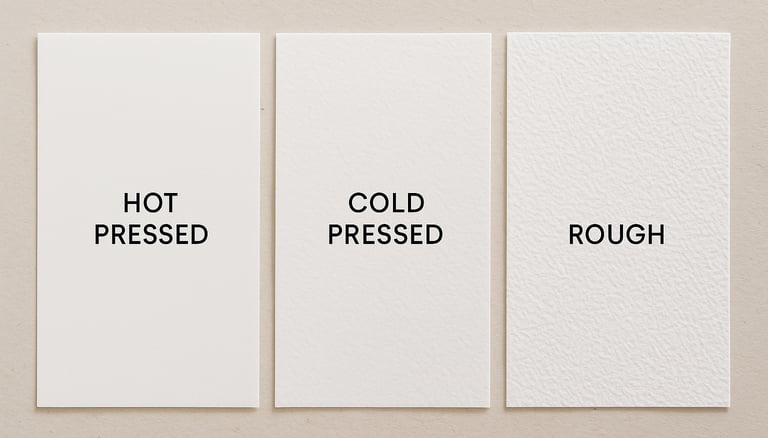
1. Surface Textures
Hot Pressed:
Smooth surface
Ideal for detailed work, ink and watercolour, or when you want clean lines
Paint dries faster on it, so blending is more limited.
Cold Pressed:
Slight texture (most popular)
Great balance between detail and absorbency
Allows for soft blends, layering, and some fine detail
A versatile choice for beginners and pros alike
Rough:
Heavily textured surface
Holds pigment in the valleys of the texture
Creates expressive, loose, and grainy effects
Ideal for landscapes, bold strokes, and dry brush techniques
🎨 Final Note
Starting watercolours doesn’t have to be expensive or overwhelming. With just a small selection of good paints, 3 or 4 brushes, decent paper, and a couple of extras, you’ll have everything you need to create beautiful art.
Once you’ve got your supplies, the fun begins — experimenting, mixing, layering, and watching colours dance on the page. Start simple, learn how your tools behave, and let your creativity grow.
2. Composition
100% Cotton: Professional quality, absorbs water beautifully, lets colours glow, and withstands layering.
Professional-grade
Highly durable, absorbent, and long-lasting
Allows blending, layering, lifting, and wet techniques beautifully
It handles water and paint beautifully without warping
Cellulose (wood pulp):
More affordable, often student-grade
Less absorbent, dries faster
Paint sits more on the surface
Great for practice and casual painting
More affordable and good for practice
Less absorbent and can buckle or lift with too much water
Paint may not flow or blend as smoothly
3. Paper Weight
180–200 gsm (90 lb):
Lightweight
Best for practice or sketching
Needs to be stretched or taped to prevent buckling when wet
300 gsm (140 lb):
Good for all techniques
Can handle moderate washes
Might still warp unless secured, but works well for most projects
640 gsm (300 lb):
Very thick and heavy
No stretching needed
Stays flat even under heavy washes
More expensive but ideal for wet-on-wet techniques and serious work
4. Format (how it is sold):
Pads are beginner-friendly and affordable.
Blocks (paper glued on all sides) prevents buckling; peel the top sheet after drying.
Stays flat while you paintLoose sheets come in large individual pieces, often used by professionals
Rolls for custom sizes or large-scale works
👉 Tips for Paper:
If you can upgrade just one supply, choose paper.
Practice on cheaper paper, but treat yourself to cotton for “serious” pieces.
Don’t fear mistakes — every sheet teaches you something.
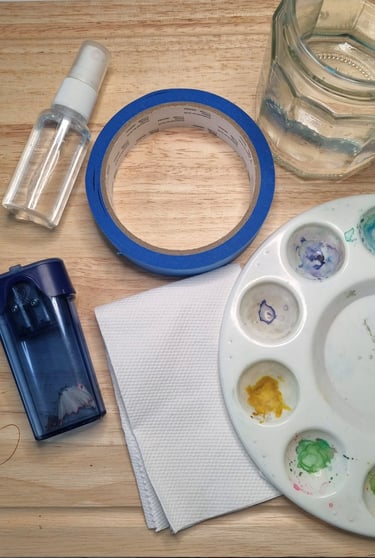
✨ Extras – The Handy Add-Ons
A few extra tools will make painting easier and less frustrating:
Water jars: Always keep two. One for rinsing dirty brushes, one with clean water.
Palette: You can use a ceramic plate, a plastic palette, or even the lid of your pan set.
Paper towel or cloth: For blotting, lifting paint, and controlling water.
Pencil & eraser: For light sketches (a kneaded eraser is gentle on paper).
Masking tape: Keeps paper flat and creates crisp edges.
Spray bottle: Handy for re-wetting dried paints or creating texture.
Masking fluid (optional): Protects white areas when painting washes over them.
👉 Tips for Extras:
Don’t overbuy gadgets — most “must-haves” aren’t necessary.
A roll of paper towel can be more useful than an expensive tool.
Keep your setup simple — the fewer distractions, the more you’ll paint.
Enjoy the process and happy painting!

Join me on a journey of creativity!
We won't send you spam. Unsubscribe at any time.
Subscribe for monthly newsletter,
inspiration and tips & tricks for your art journey!
Gift for you, a FREE Watercolour Supply Guide!
🎨 You Might Also Like…