Easy Art - Techniques


Acrylic Pouring


Acrylic pour painting is a technique used to create paintings with natural flowing patterns. The effect is created by combining acrylic paint with a liquid medium. This mixture is then “poured” onto a surface and spread around by tilting the surface or manually manipulating the paint.
It is particularly popular with beginners as it allows artists to create quick paintings with dramatic, contemporary results.
What you need:
Acrylic paint & pouring medium or premixed pour paint
Canvas
plastic cups & wood stir sticks
one-way gloves
plastic sheeting (to cover your workspace)
pallet knife or brush
silicon oil (optional for creating cells)
There are many different pouring techniques like:
Direct Pour, Dirty Pour, Puddle Pour, Flip Cup, Circle Pour, Swipe Pour, Funnel Pour, Dutch Pour, String Pour, Balloon Dip
ACRYLIC POURING for Beginners
Learn easy pouring techniques
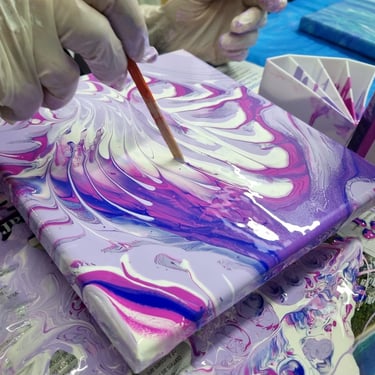
Dirty Pour
Puddle Pour
Funnel Pour
Intro Workshop
DIRTY POUR
Materials:
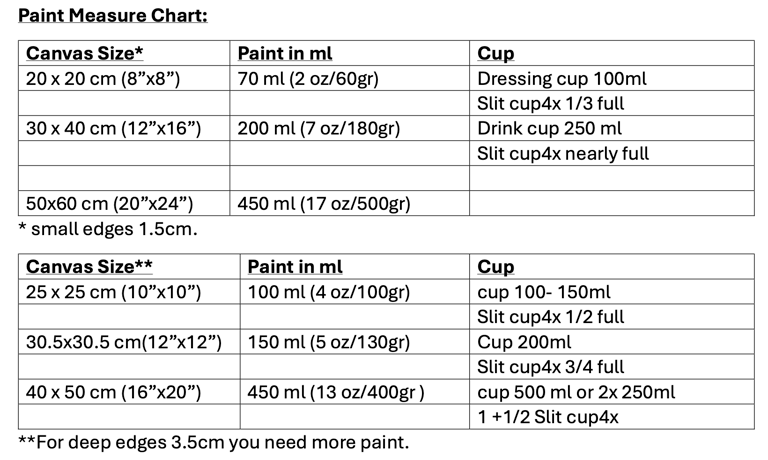
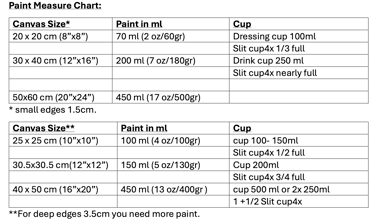
Small Canvas 20 x20cm
Premixed Acrylic Paint (or mix yourself)
1 part Acrylic Paint, 2 parts FLOETROL, 1 part Water
add 3 drops SILICON OIL for CELLS in paint (doesn´t have to be in every colour, NEVER put oil in your first and last layer!)Pillow/Base paint (wall paint mixed with water)
CUP 100ml or bigger, or use a SPLIT-CUP
Gloves, cover for workspace, Wood Stick or Spatular, wet cloth
How to do:
Prepare your CANVAS. Put in the wood keys into the slots.
Choose 3 – 4 Colours which mix well together.
Try on paper how they mix. Don´t use complimentary colours (opposite on colour wheel)
In the beginning stay with monochromatic colours (neighbours, choose warm or cool colours,
you can always add in one layer of a contrast colour)Pour on BASE PAINT - WHITE for better flow. (wall paint mixed with water)
Start pouring the colours into yourCUP.
Tilt cup – pour in coloursSLOWLY
One colour after the other – layer the colours,
repeat3 to 4 times, until cup is ¾ full.Pour coulours on your CANVAS. Start holding cup over middle of canvas.
Do slow zig-zag movements until cup is empty.
Go in circles or move around freely.
Don’t go to fare out to the edge, as paint will run over edge and you will loose more colour.Start tilting the canvas – let the colour run over the edges.
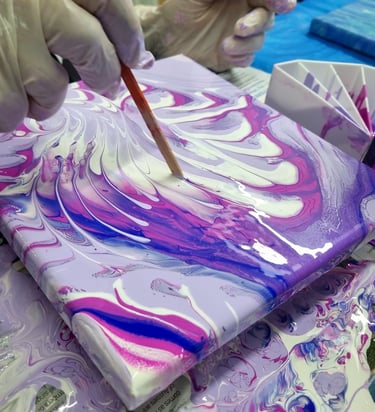
Move slowly up and down until you get nice lines and shapes.With a wood stick you can work out some fine lines and details.
Blow over with heat gun or hair dryer to remove air-bubbles in colour.
Let dry for 24 hours.
Finish up with a clear VARNISH (spray or liquid) to protect your painting.
You can also use coconut oil.
Enjoy and have FUN!
Intro Workshop printout:
Materials, How to do, Colour combinations
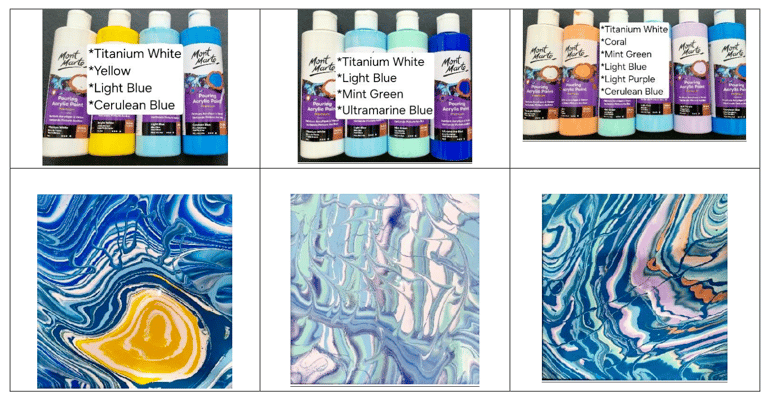
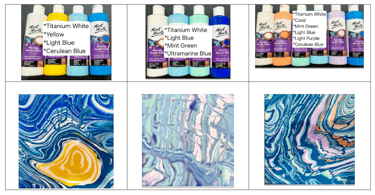
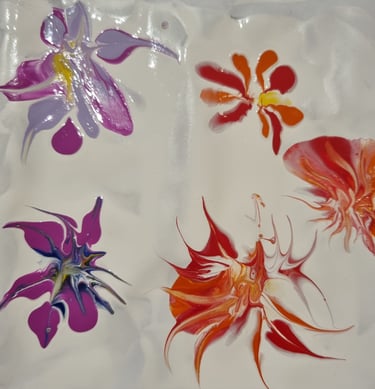
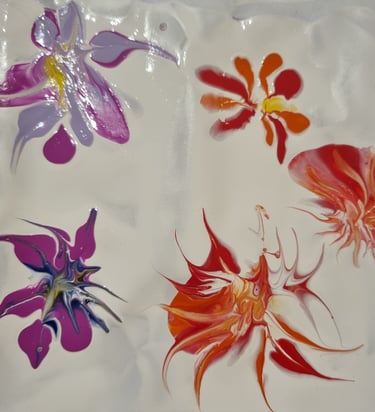
COLOUR COMBINATIONS
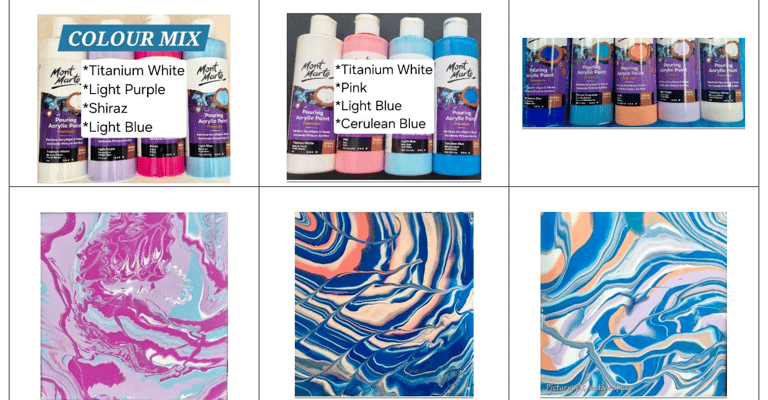

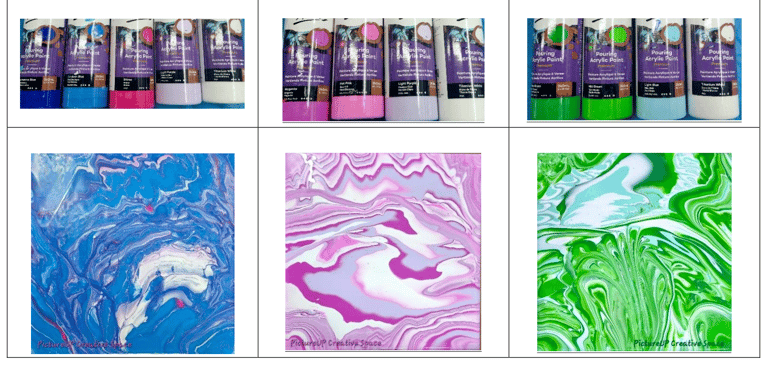
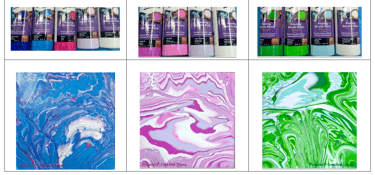
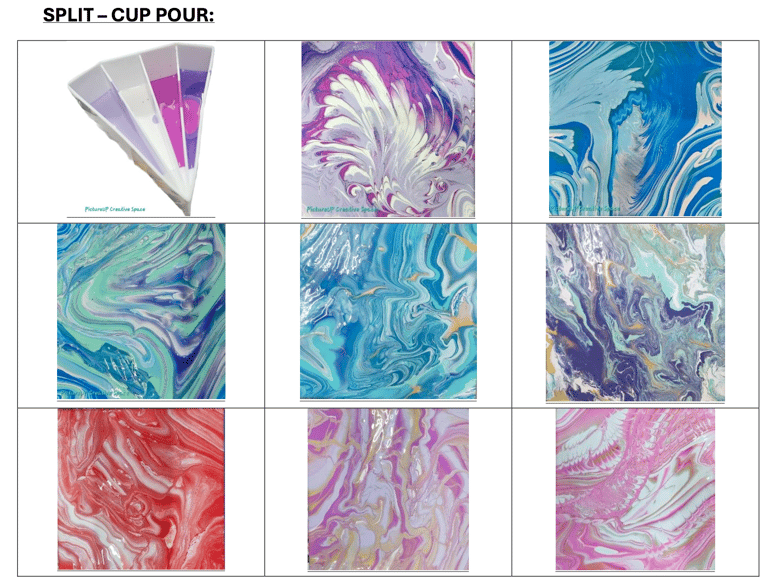
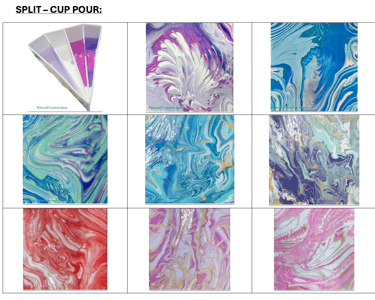
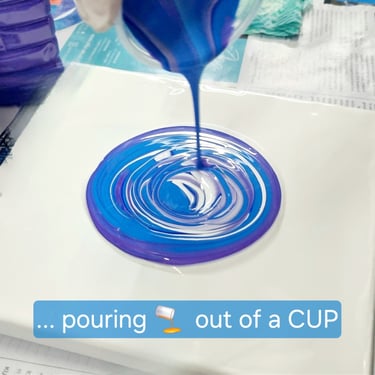
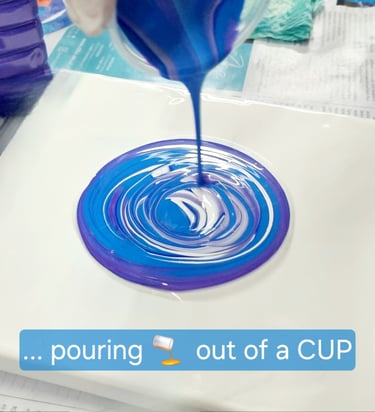
Pour out of a CUP
🎨 You Might Also Like…