Acrylic Painting - Supply Guide
What you really need to get started...
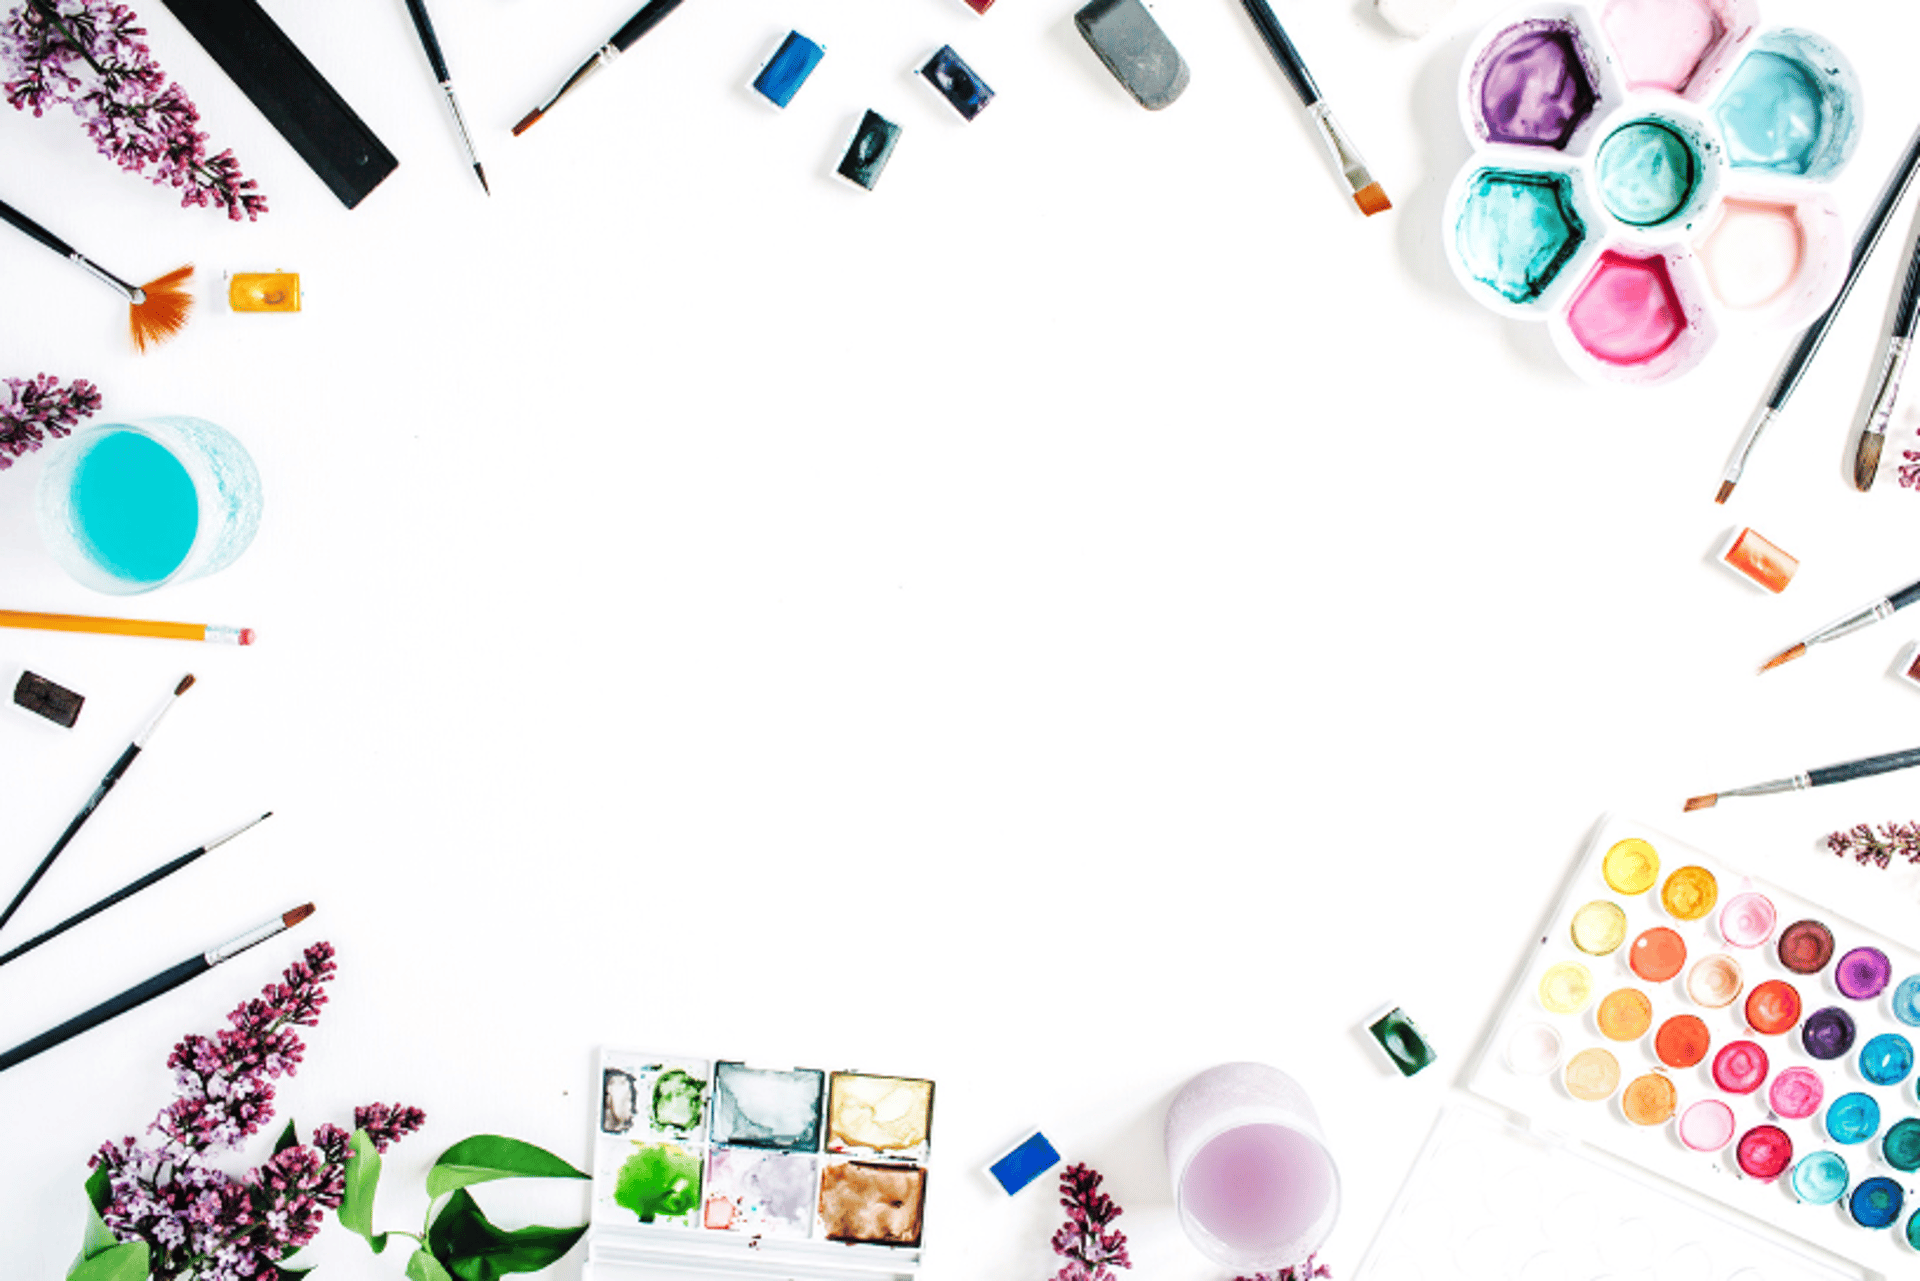
MATERIALS
So, you want to dive into the world of watercolour painting?
✨Wonderful choice! Acrylic painting is one of the most versatile (and beginner-friendly) mediums out there. It can be bold and textured, smooth and blended, or even soft like watercolour.
But here’s the thing: walking into an art store or scrolling through endless online supplies can feel overwhelming.
Do you really need a huge set of colours? What’s the difference between heavy body and fluid acrylics? And why does everyone keep talking about gesso and different types of canvas?
✨ The good news is — you don’t need a mountain of materials to get started. In fact, having just a few quality basics will set you up for success (and save you money and frustration along the way).
In this guide, I’ll walk you through the essential supplies you actually need — paints, brushes, canvas, and a couple of extras — plus a few tips on where you can save and where it’s worth investing. Whether you’re a total beginner or picking watercolours back up after a break, this will help you build a toolkit that works without all the fuss.
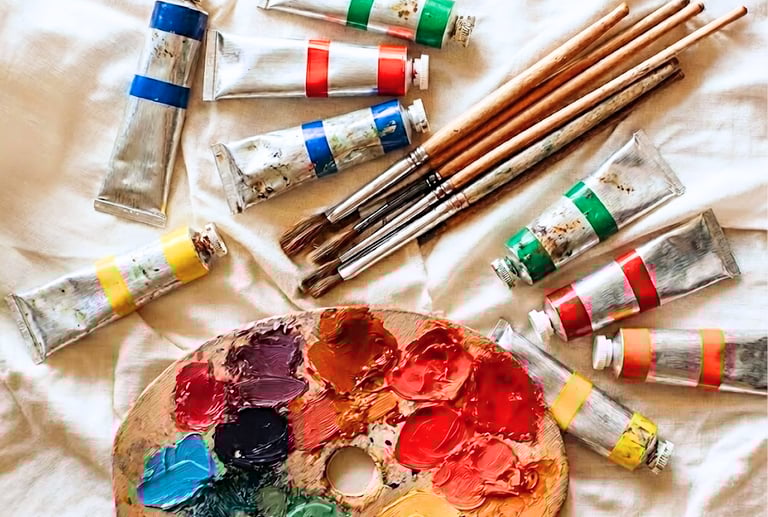
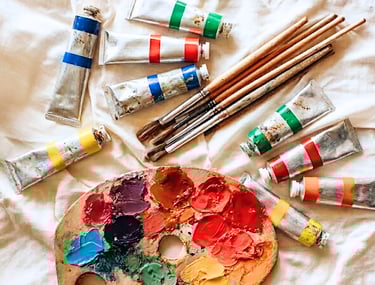
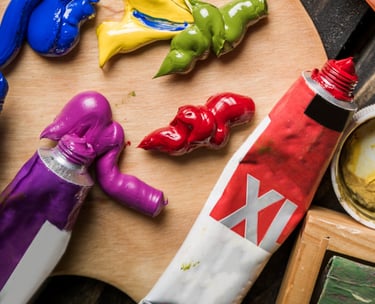
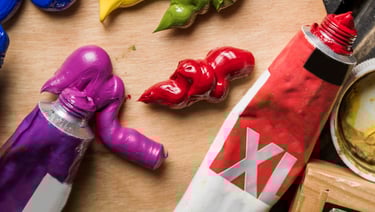
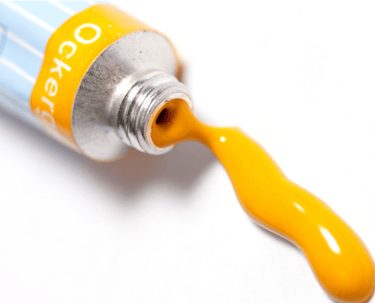
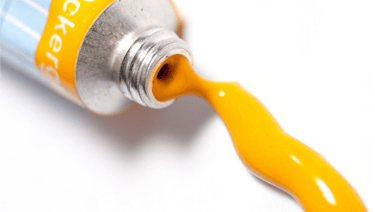
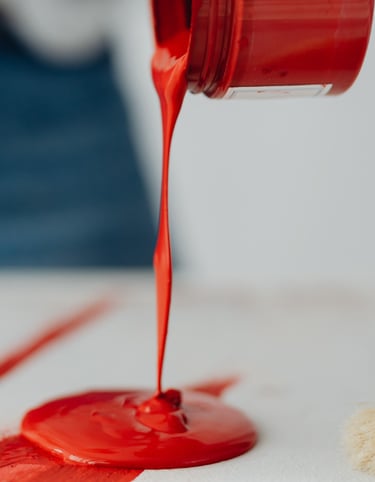
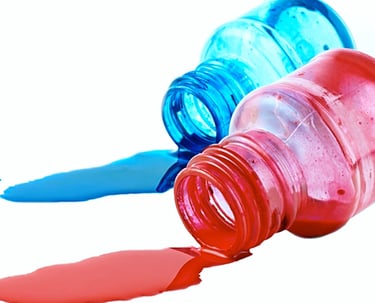
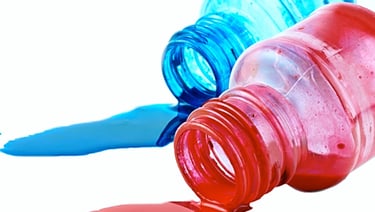
🎨 Paints – Your Colours
When you're shopping for acrylics, the terminology can feel like a different language. "Body" refers to the thickness of the paint, while "Grade" refers to the quality of the ingredients.
Here is a breakdown of the types you'll encounter on the shelves:
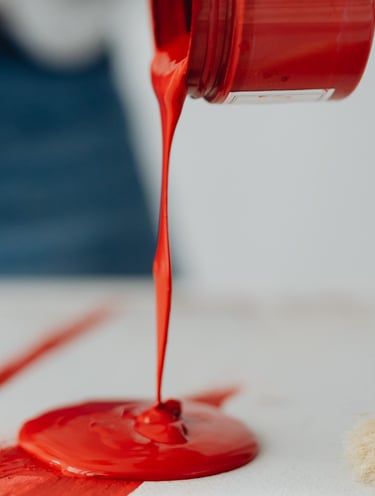
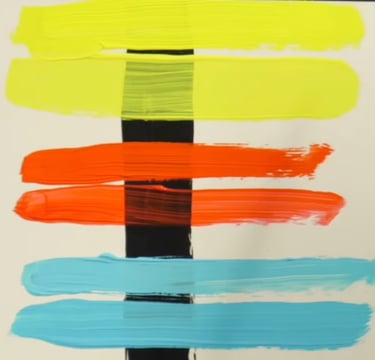
1. By Consistency (The "Body")
Heavy Body: Thick, buttery (like soft butter)
➣ Texture, impasto (thick layers), and holding visible brushstrokes.
Soft Body: Creamy (like yogurt)
➣ Smooth blending, covering large areas, and detail work without visible strokes.
Fluid: Runny (like heavy cream)
➣ Glazing, staining, fine details, and "pouring" art.
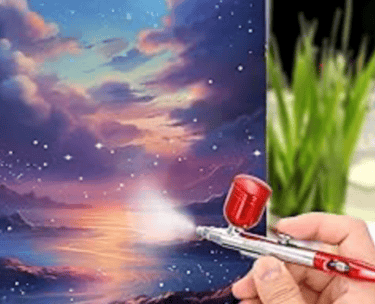
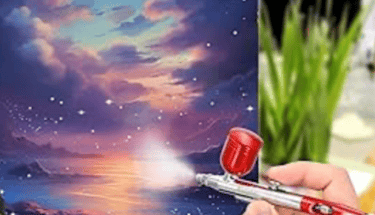
High Flow: Watery (like ink)
➣ Airbrushing, calligraphy, and watercolour-style washes.
2. By Quality - The “Grade”
Artist/Professional Grade: High pigment, vibrant colours, better coverage, and "lightfast". Worth the investment for serious painting.
Student Grade: Cheaper, less pigment, more fillers, may need two coats to get a solid colour. Good for learning.
Craft Paint: Very thin, low pigment, and likely to fade or crack over time. Use these for practice or DIY wood projects.
3. Specialty Acrylics
Open Acrylics: These stay wet much longer than standard acrylics (hours instead of minutes), making them feel almost like oil paints.
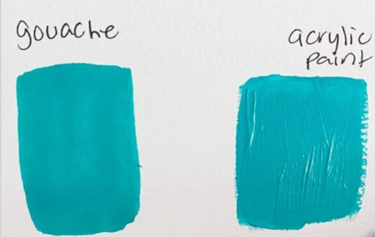
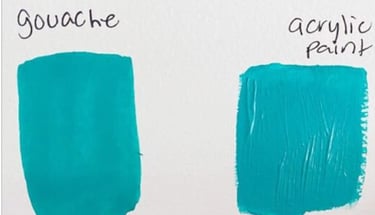
Acrylic Gouache: Dries to a perfectly flat, matte finish. It's popular with illustrators because it doesn't have the plastic-like shine of regular acrylic.
Metallics, Iridescent, Fluorescent Acrylics
Texture Pastes and Gels
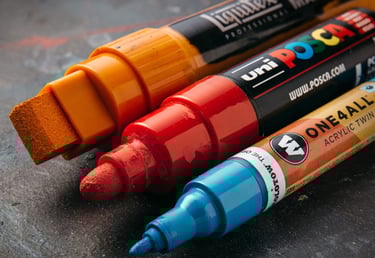
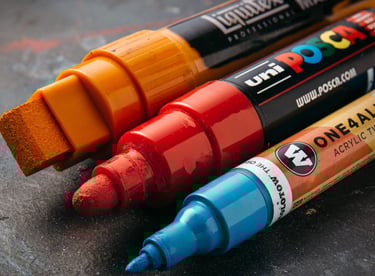
Acrylic Markers
✨ Tip for Beginners:
If you're just starting, buy Student Grade Heavy Body paints. They are versatile enough to do almost anything, and you can always thin them with a little water if they feel too thick.

🖌 Brushes – Your Tools
Brushes are the steering wheel of your painting. While it’s tempting to buy a giant 50-piece "mega-set" for $10, you’ll usually find yourself only using three or four favourites.
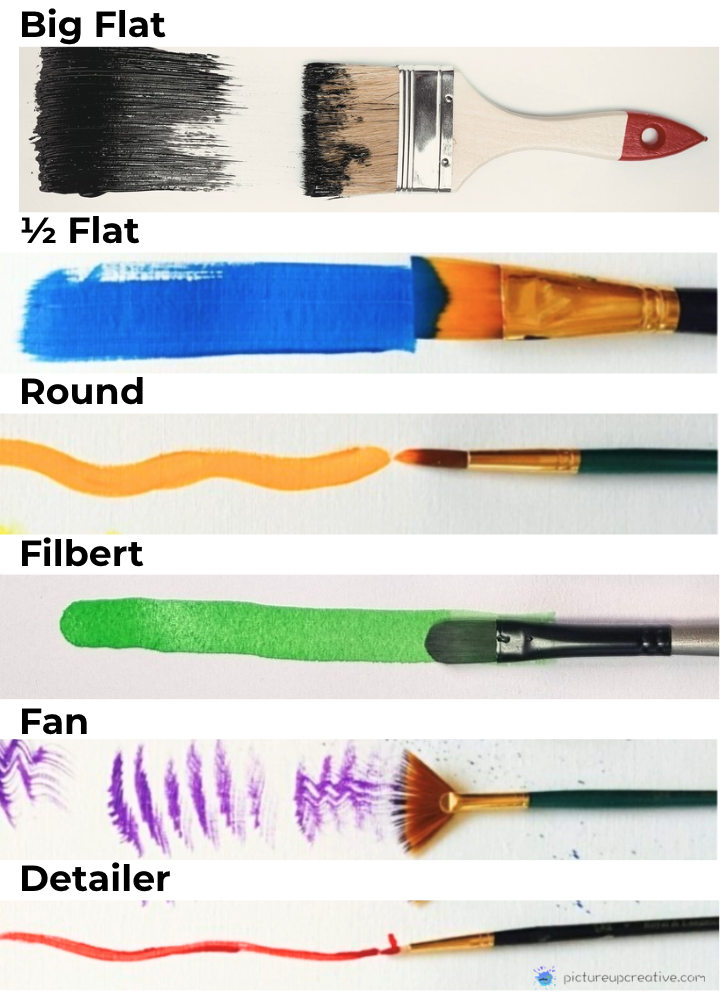
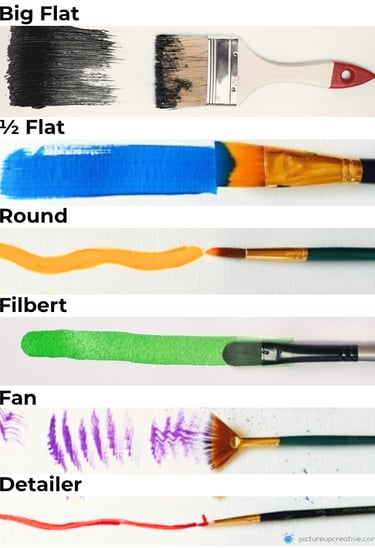
1. The "Must-Have" Shapes
If you're building a starter kit, these 6 shapes cover 90% of all painting techniques:
➣ Big Flat (wide flat) – For big strokes to paint the Base Coat on canvas.
➣ Flat (square, flat end) – Bold strokes, filling large areas, and sharp edges.
➣ Round (pointed tip) – Sketching, fine lines, and detailed work. Get 2 different sizes,
eg. 6 & 12 or 8 & 16 (depending on canvas size).
➣ Filbert (flat with rounded top) – Soft blending and organic shapes (like flower petals).
➣ Fan (spread out like a fan) – Textures like grass, clouds, or blending skies.
➣ Detailer (fine, short tip) – To add fine details, dots and lines.
The Palette Knife (The "Non-Brush")
Technically not a brush, but it lives in the same jar!
The Magic: It’s a metal or plastic spatula used to "butter" the canvas with thick paint.
Use it for: Creating bold, 3D textures (Impasto style) or mixing colors on your palette without wasting paint trapped in bristles.


2. Synthetic vs. Natural Bristles
This is the most important rule for acrylics: Stick with Synthetic ‼︎
Synthetic (Nylon or Polyester): These are designed to handle the chemicals in acrylic paint. They stay springy when wet and are easier to clean.
Natural (Hog or Sable): These are great for oils or watercolours, but acrylic paint can actually damage natural hairs over time. Plus, they tend to get soggy and lose their shape in water.
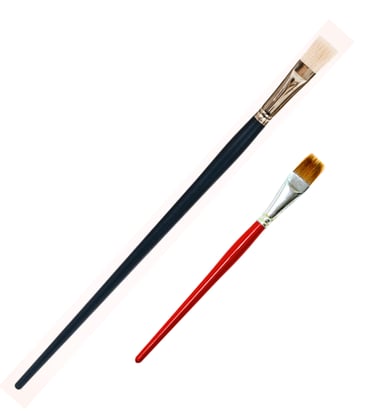
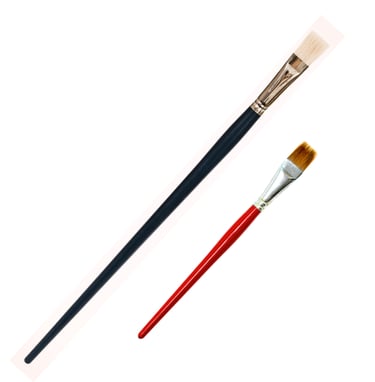
3. Handle Length: Long vs. Short
Long Handles: Designed for painting at an easel. They allow you to stand back and see the whole composition.
Short Handles: Best for tabletop work. They feel more like a pen and are great for close-up detail work.
✨ Tip for Beginners:
Hold your brush by the end of the handle for loose, painterly strokes. Hold it close to the bristles (like a pencil) for tight, controlled details.
4. Brush Care (The Lifespan Hack)
Acrylic paint is essentially liquid plastic. If it dries inside the "ferrule" (the metal part holding the hairs), the brush is ruined.
The Golden Rule: Never let your brush sit dirty on the table. If it's not in your hand, it should be in the water jar.
Reshaping: After washing with mild soap, use your fingers to "point" the bristles back to their original shape before letting them air dry.
Dry Flat: Never store brushes hair-side up while they are wet; water can seep into the handle and rot the wood or loosen the glue.


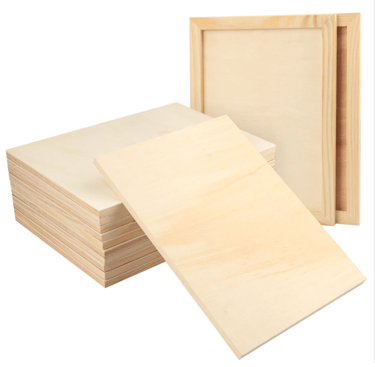
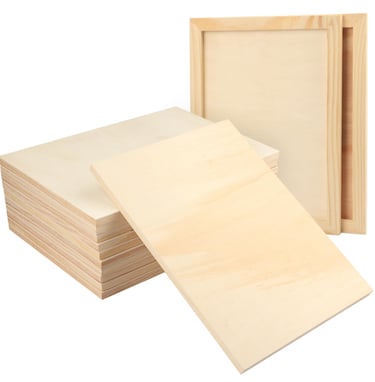
⬜️ The Surface – Your Canvas
1. The Classic Choice: Canvas
Canvas is the gold standard for a reason. It has a "tooth" (texture) that grabs the paint and allows for beautiful layering.
Stretched Canvas: Fabric stretched over a wooden frame. It has a nice "bounce" when you hit it with a brush.
➣ Best for: Finished pieces you want to hang on a wall.Canvas Boards/Panels: Canvas fabric glued to a stiff cardboard backing.
➣ Best for: Practice, classes, and easy storage. They don't take up much room!


2. Alternatives to Canvas
If you want to experiment or save money, try these:
Acrylic Paper: It’s extra-thick and "primed" so the paint doesn't soak through and warp the page.
Difference: It’s flat and lacks the "bounce" of a stretched canvas, but it's the cheapest way to practice.
✨ Tip for Beginners:
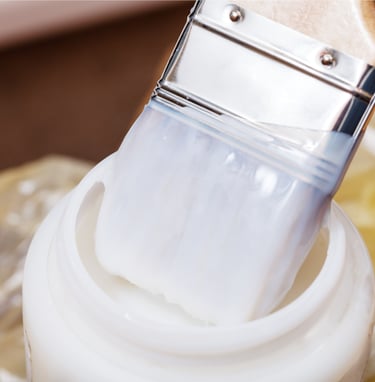
If you're painting on wood or raw fabric, apply a coat of Gesso first. It’s a primer that acts like a "barrier," preventing the surface from soaking up all your expensive paint.


Wood (Panels or Scraps): Many professional artists prefer wood because it's rock-solid.
Difference: It’s much smoother than canvas. You won't see any fabric grain, which is great for ultra-fine details.
Glass and Ceramics: You can paint on these, but they are non-porous.
Difference: The paint might peel off if the surface is too smooth. You usually need to sand it slightly or use a special "medium" to help it stick.
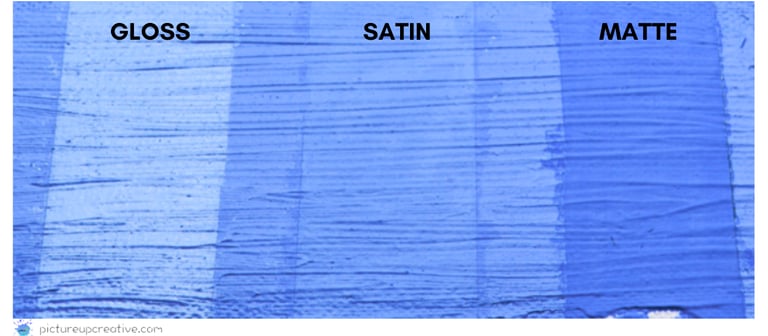
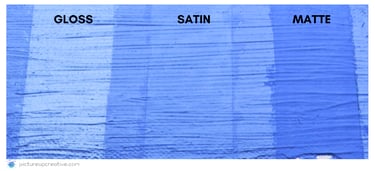
✨ The Finish – Varnish
Think of Varnish as the "finish line" for your painting. It’s the final clear coat that protects your hard work from dust, UV-rays, and yellowing over time.
Plus, it makes your colours "pop" just as much as they did when the paint was wet.
1.Types of Varnish
Gloss: Gives a shiny, professional look (like a gallery painting) and makes colours appear deeper and more saturated.
Satin: A soft, medium sheen. It’s the "Goldilocks" choice—not too shiny, not too dull.
Matte: Eliminates all glare. This is great if your painting will hang in a very bright room with lots of windows.
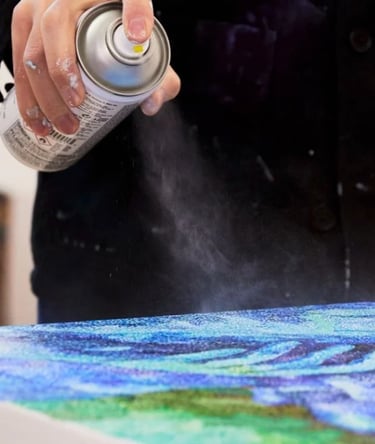
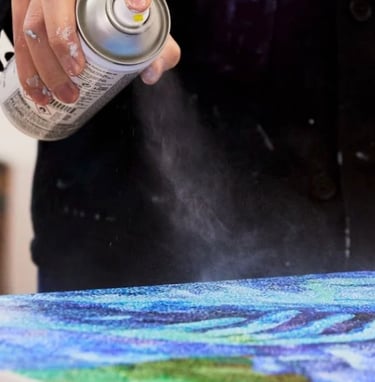
2. Brush-on vs. Spray Varnish
Brush-on: More control and no fumes, but you have to be careful not to leave brushstrokes behind.
Spray: Much faster and gives a perfectly even coat. Just make sure to use it outdoors or in a very well-ventilated room!
✨ Tip for Beginners:
Even though acrylics feel dry to the touch in minutes, wait at least 24 to 48 hours before varnishing. You want to make sure every molecule of moisture has evaporated, or the varnish might turn cloudy!
✨ Extras – The Handy Add-Ons
You likely have some of these at home, but check your stash!
A Palette (A plastic tray, a ceramic dinner plate, or even a roll of wax paper)
Two Glass Jars (One for brush cleaning, other to thin your paint)
A Small Spray Bottle (To keep paints moist)
Cloth or a roll of Paper Towels
A Pencil and Eraser (For sketching your design first)
🖌️ Tips for Beginners
Don’t overbuy gadgets — most “must-haves” aren’t necessary.


Join me on a journey of creativity!
We won't send you spam. Unsubscribe at any time.
Subscribe for monthly newsletter,
inspiration and tips & tricks for your art journey!
Gift for you, a FREE printable
Acrylic Supply Guide & Shopping List!

🎨 You Might Also Like…